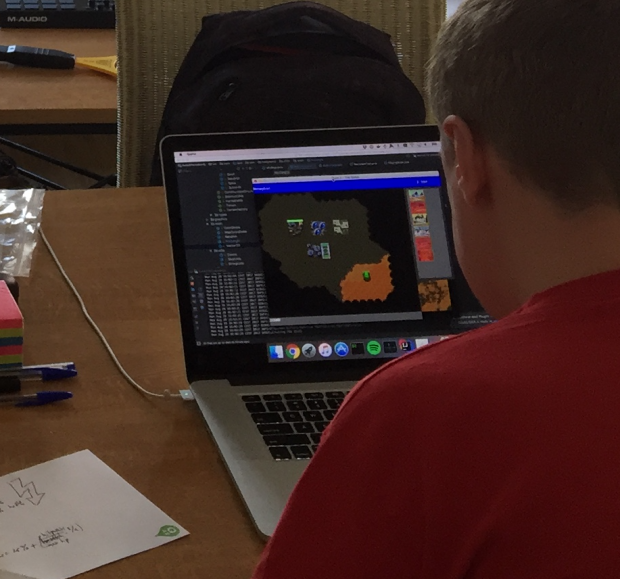
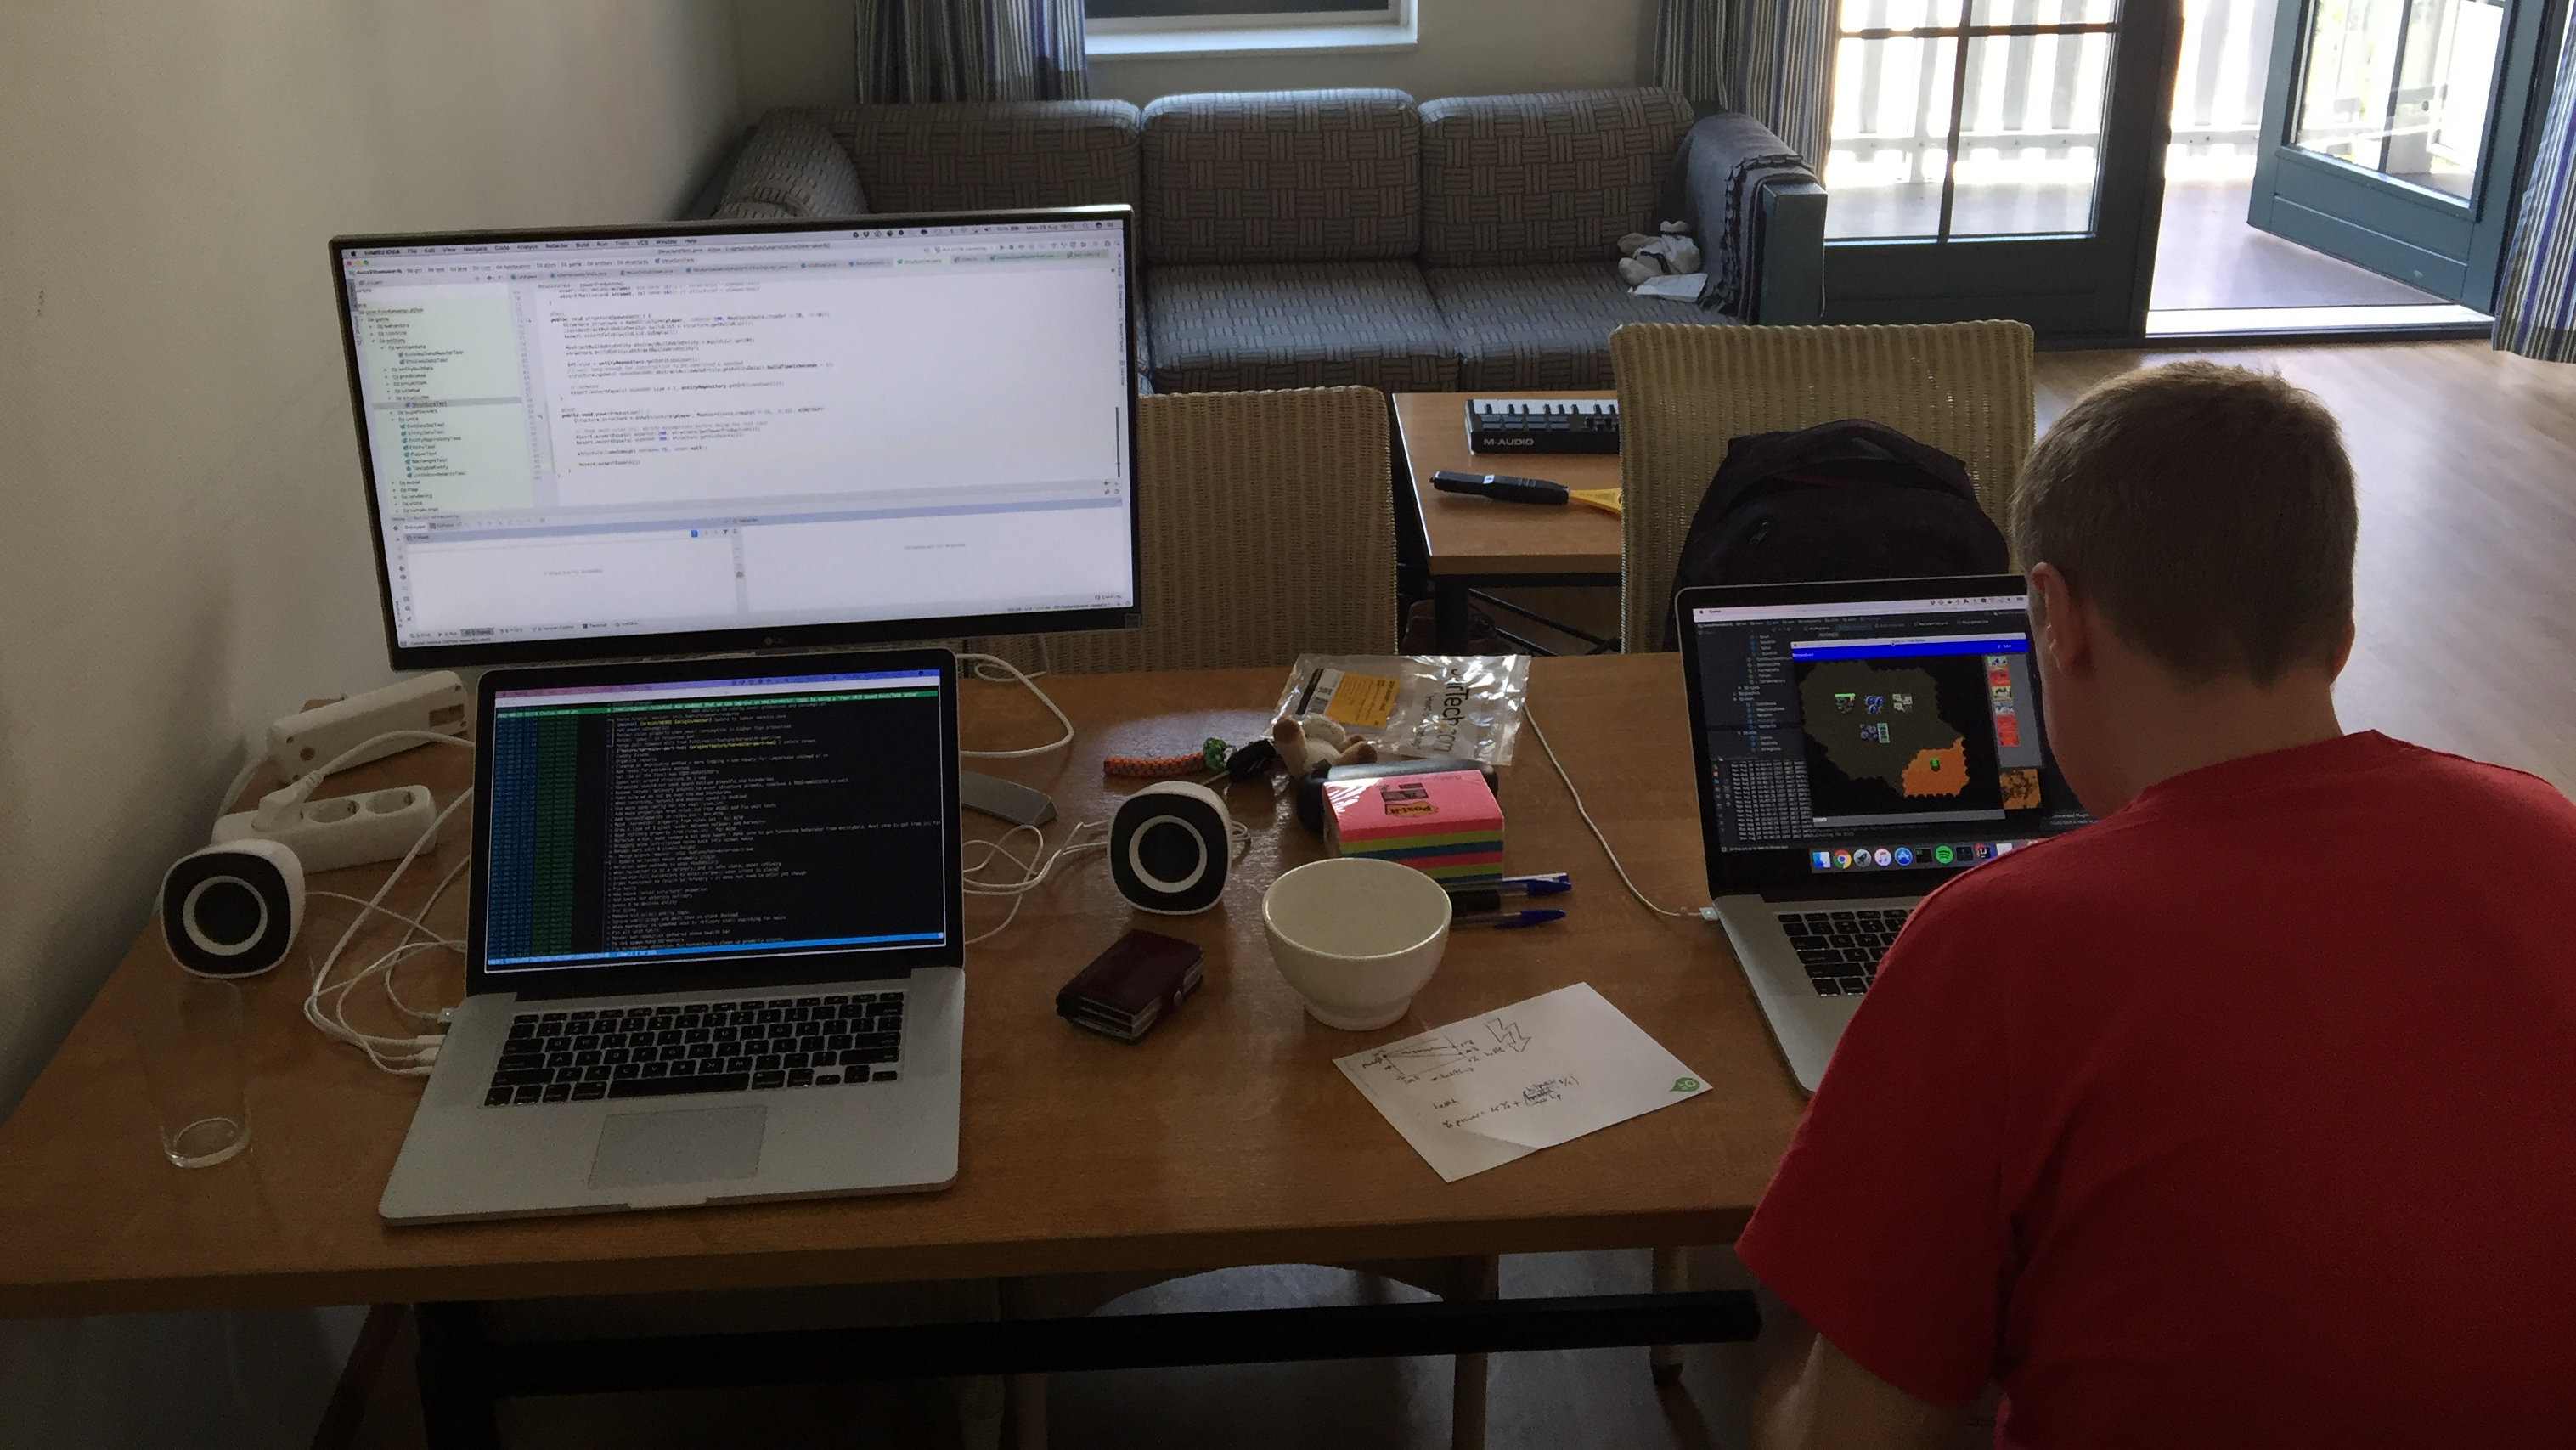
Today I have begun an ‘Incubator week’. This means I have allocated a whole week to work on my game. One week without any distractions, at a separate location. Focussed to work on the game.
And even more awesome, I have some help from Arjen van der Ende for a few days.
I am very grateful that my family supports me to chase my dream and give me the opportunity to work on my game like this! Thanks! Also, thanks Arjen for helping me out!
In this post I will elaborate further about the goal I have set and how I intent to reach that goal. Writing a game is, like any project, quite a challenge. It is a continuous process of ‘zooming in’ (doing the actual work) and ‘zooming out’ (keeping an eye on the bigger picture). Only that way you can be sure you reach the goal in the most efficient manner.
Like any project, to keep it clear what to do, there is a list of tasks. It is wise to (ball-park) estimate how much time they will consume. At the same time there is a desired ‘launch date’. This brings a certain tension as you want as much value (features/tasks) done on launch date. Usually you have a minimal amount of tasks you have to get done.
Since I am now the developer and ‘product owner‘ at the same time I experience both sides. I need to investigate what to do to reach my goals. At the same time estimate and do the actual work.
This blog post covers the questions:
What needs to be done?
When will they be done?
What is the ‘end-date’?
What needs to be done?
In the grand scheme of things (zoomed out), roughly:
make the game ‘feature complete’
make my own graphics, sounds, etc
easily distributable & installable
What is ‘feature complete’?
I am heavily inspired by the first versions of C&C (RA), and I feel that to have a minimum playable game there should be at least:
1 resource to ‘mine’ to earn money with (est: 8 hours)
1 ‘power’ resource (est: 4 hours)
1 faction to play with as a player (est: 0 hours)
A simple tech-tree (structures) (est: 8 hours)
Central structure to produce other structures (Const yard in C&C)
Power plant
Barracks
Factory
Refinery
A few units which have a Rock-Paper-Scissors mechanism (est: 16 hours)
Infantry
Two types: rocket launchers and soldiers
Light unit (fast, trike/quad)
1 or 2 types
Heavy unit (tank)
1 or 2 types
A (random generated) map to play on (est: 4 hours)
A very simple AI to play against (est: 12 hours)
A clear objective (ie, destroy enemy) (est: 4 hours)
A beginning and ‘end’ of the game. (menu to start from, and ‘game won/lost’ screen). (est: 8 hours)
And I think if you really want to push it you can shave off some features. I believe the first step is to get ‘full circle’ as soon as possible. Meaning you have a concept of a game. It has a beginning and an end.
From here on I can expand scope to my ideal game. But not before I have done the two other important things.
Estimation: 64-80 hours (20% deviation)
Make my own graphics, sounds, …
The next important part is graphics, sounds, music, story, etc. As for graphics. At the moment I use Dune 2 graphics as placeholders. Once I have the game mechanics in place and I know which units/structures I need for the minimum version I can start creating/getting these. So in a way they are not required immediately, but they are required whenever I want to commercially release my own game.
Changing the graphics will have impact on some implementations for sure, although I do set up the code as flexible as possible, there are always cases that I have not thought about.
There is a caveat. Creating graphics is hard. It is not my primary skill. To tackle this I could:
Seriously: this is a risk and I need to decide which strategy to get a more reliable amount of hours.
Easily distributable & installable
Release early, release often. It is a phrase I use all the time when I am working at clients. The same goes for my game. There is a difference however. Usually I work on mid-large web applications. There is no need for customers to install anything to use the latest version of the website. When an organisation has implemented Continuous Deployment, it can easily deploy new versions at will. Customers automatically have the latest version upon a new visit of the website.
For applications that need to be installed there are several platforms out there. There is a reason why the concept of an ‘App store’ is famous. It delivers a web-like experience.
There is a lot to win here, the first step though is to make sure any user is able to download a distribution for their platform (Windows, Mac OS, Linux) and able to install the game. I already took the liberty of wanting to support these platforms. So yes, I target the PC platform. No mobile, game console, etc.
In that sense there are a few steps to be taken:
Offer a distribution somewhere (website? distribution platform? need to figure out)
Provide an easy installation procedure (how? install4j? etc)
Provide an app-store like experience. (use a distribution platform like Steam?)
Ok great, so there is a lot to do. So when will all this be done?
Lets bring a few numbers together. The estimates and the available time.
Bringing the estimates together
I just take the hours from all 3 paragraphs above, and sum them.
Min: 64 + 0 + 8 = 72
Max: 80 + 0 + 16 = 96
(I purposely did not add the 10.000 hours from the graphics section, it seriously is way too unsure).
So basically, I am estimating that 72 to 96 hours should be enough. Meaning, given an 8 hour work day it would take 9 to 12 days to get a minimum version which is distributable in the easiest way. Without doing anything about graphics, sounds, etc. (using dune 2 graphics as ‘stub’)
Estimated time needed: 72 to 96 hours
This excludes graphics.
How much time do I have?
To calculate the amount of time I have realistically I also do a min/max calculation. The minimum amount being the amount I am 100% sure of I have. The max being added hours I probably can spend, but I should not count on it.
Minimum hours are easy. I have at least 8 hours a week (1 work day a week) to spend. And every 8 weeks I take a week off to spend even more time. This means in a period of 10 weeks I can spend 14 days.
The max would be weekly 0 to 8 hours more. I can spend a weekend sometimes, an evening, sometimes more evenings. It really depends on a lot of things.
I like to think in periods of 10 weeks, I consider a full 10 weeks as an ‘iteration’. When working on Magic Gatherers we used this mechanism and it worked out pretty well. Also, every iteration had a particular focus. The first iteration there was ‘from idea to launched product’ for instance. For this game it would be different of course.
One other aspect with time is ‘when should it be done?’. The easiest thing would be to use the iteration end-date. Considering that the first work-day is within this week, this week is counted as the first of the iteration. An iteration of 10 weeks will mean the end date is 29th of october.
Meaning:
End-date: 29th of october 2017
Time available: 14 days to 19 days (112 to 152 hours)
Looks like an easy feat!… oh wait, I have seen this before. This probably means I forgot something. Ah yes, the graphics… and so much more unknowns. Looks like it will be a close one.
So when will it be done?
Yes, good question, so in this case I choose to use the fixed-time flexible scope approach. Although I do know if the minimal scope is not met I will not launch the product. Then again, I really DO want to launch a product so I probably will be very harsh on the scope and just make it fit.
This brings me to another topic, priorities and goal. What do I try to achieve with releasing something at the end of iteration #1? I will elaborate on that in a different blog post.
Conclusion
It looks like it is feasible to get a minimalistic feature complete game done within the first iteration. That would mean at the 29th of october (latest) a downloadable and installable game should be available.
However, there are more things that need to be done that were not explicitly defined in overall 3 phases. You can think of, writing dev blogs, youtube video’s for demoing features, a monthly in-depth video for Patrons and so forth.
My dream is to build my own games and make a living out of it. It is fairly obvious to me now, but at the same time I never dared to make it this explicit.
Once you decide to make work of your dreams, you get into some kind of planning stage. How am I going to build any game? What kind of game? And how do you find time? Practical stuff, dreamy stuff. There is so much needed to build a game, where to begin?
For me it is obvious I want to build an RTS game. I have fond memories of Dune 2, Command & Conquer and Warcraft. Those games got me into programming. No wonder I built Dunedit, Arrakis, Dune 2 – The Maker, and am still working on my own engine today. You could say: I have a strong desire to build my own RTS.
So what is needed to build a game on your own? Obviously you need practical skills, coding, graphics, sounds, music, etc. I’m convinced you can learn about anything – although that does not make you an expert at it. I can code, and I have some skill in music. And, if I can’t ‘create’ it myself, there are various resources out there…
Then the next question is, when am I going to build this? It requires some serious time. How am I going to make time for this? Especially if you have a family, work, etc.
The answer to that is, you ‘make’ time. My experience with working on Magic Gatherers is that I can at least free up 1 day a week and every 8/9 weeks 5 days. Freeing up means basically taking unpaid leave.
This means, over a period of 10 weeks, I can allocate 14 days. A full two weeks of time I can spend on my own stuff: 10 ‘day a week’ + 4 extra days (the 5 day week).
As a freelancer I can more easily free up time, but it also means I need to watch my cash-flow and be sure that my family can rely on a sort of steady income. This is my starting point, from here I want to free up more time (but I need preparation for that).
In the meantime, given that I know my time I can spend on the game for this year, it becomes obvious that I have to prioritize the things to do. This is related to goals, which I will talk about in a later post.
If you want to follow my progress, and get a more indepth view of what I encounter while working towards my dream, follow (or support) me on patreon.
In Dune 2 – The Maker, I have used Allegro quite a bit. Back then it was around version 4.2. Allegro is a library that allows you to make games. In essence it has functions for manipulating the screen (ie, drawing bitmaps, manipulating palettes, etc), use controls (mouse, joystick, keyboard, etc) and more. With plugins you could extend it further, to use fonts (TTF), networking, etc.
Currently, the most recent version is Allegro 5 which breaks with the Allegro 4 API and makes it impossible to convert from Allegro 4 to 5 (atleast for D2TM). From a nostalgic perspective I wanted to try Allegro 5 and on my new system which runs Mac OS X 10.8.
In this post I will describe how you can get Allegro 5 working on Mac OS X, under XCode 4.5. I had great help from the documentation provided, and hopefully this post is sufficient for you. If not, I would suggest to checkout this documentation, or this one.
Rough steps
To give you an idea what we’re going to do, here is the installation in very rough form:
– Installing required software
– Installing dependencies to make Allegro more useful and to get it compiling (cmake, etc)
– Compiling Allegro for Xcode, installing it and making sure the Frameworks are installed in /Library/Frameworks
– Setting up an Xcode project to test if Allegro works
Prerequisites (Installing required software)
Requirements for getting started, if you already have this installed you can skip the prerequisites
Mac OS X 10.8
Xcode 4.5 (with command line tools)
Git/SVN
Homebrew
Before we can start, we need to have installed some prerequisites. Which are Xcode (you can get this from the App store), git and svn. I have used homebrew to install dependencies, you can also use Macports but I do not have any experience with this. (as far as I can tell it should behave quite the same). My advice would be to install these in the following order:
– Xcode
– Install command line tools from Xcode
in Xcode, go to preferences, tab "Downloads" -> " Components" -> Command Line Tools
– The command line tools should have installed git and svn for you, try them out:
hit "svn --version", and "git --version" in your terminal.
If they are not installed, you could install them via homebrew (brew install git && brew install svn)
Installing required dependencies
As suggested by the Allegro 5 wiki we need to install dependencies. The wiki explains how to do it with Macports, but since I am using Homebrew, you need to do it like this:
The first one is cmake, which we will need to build Allegro. Cmake is required to create the OS specific build steps to compile Allegro, without it we cannot proceed. The other dependencies are used to make Allegro more useful. When we prepare to build Allegro in the next section, cmake will check what dependencies are installed. The more it finds, the more features it will provide in Allegro 5.
Note, you might get a warning about zlib. If thats the case, you can ignore it.
Compiling Allegro for Xcode, and making sure the Frameworks are in /Library/Frameworks
Once we have everything set up, this step is relatively easy. Since we are going to compile it for Xcode, we basically are doing the same as the Allegro wiki is saying.
Open a terminal, and go (cd) to a directory where you want to get allegro’s sources. For example: ~/projects
cd ~/projects
We now need to fetch the sourcecode of Allegro, which we can do by using git clone. At this moment of writing, Allegro 5.1 is the current version. Our git clone command looks like this:
git clone git://git.code.sf.net/p/alleg/allegro
This takes a little while. Once git is done, you have Allegro’s sources in ~/projects/allegro.
Now: cd to allegro, and create a new directory called “build”, then go into that directory.
cd allegro
mkdir build
cd build
The first step is to let cmake (the first dependency we installed) prepare our build, then build it and then install it. This is done by the following:
The last step requires you to enter your password.
I found that the last step did not work for me, in order to fix that I did:
cd lib/RelWithDebInfo
Within here all Frameworks are built. Now copy them over to your /Library/Frameworks directory with sudo. With this:
sudo cp -r *.* /Library/Frameworks/
If you don’t want to copy this over to your Library/Frameworks directory, then you need to remember the path to these frameworks as we are going to need them later.
Setting up an Xcode project and see it all working
This section is a copy & paste + improvement from this page.
Start XCode, create a new empty project (Other->Empty)
Add a Cocoa Application target to the project, let’s call it MyGame. (Click your project, then the + button at the bottom saying Add target, then Mac OSX->Application->Cocoa.)
Select the MyGame target, go to the Build Phases tab and add a new Copy Files Build Phase (+ button down right).
Select Frameworks from the dropdown
Leave Subpath blank
We leave this build phase empty for now, we will need it later.
Select the Build Settings tab then:
Note: You can change display from Basic to All at the top and use the search box to locate the following settings
Change Header Search Paths to (just copy & paste):
In the targets Build Settings specify the Framework Search Paths as/Library/Frameworks.
This is needed to have cross-platform code (#include <allegro5/allegro.h> working – otherwise paths like using #include <Allegro-5.0/allegro5/allegro> would work without changing the search path)
If you use another location, one way to save on typing is to double click the input field, then navigate to the Headers folder in each framework and drag it into the xcode input list
Delete Prefix Header (Edit->Delete)
You can of course use your own prefix headers – but the default Cocoa one will only work with objective C projects that’s why we remove it, assuming MyGame is a cross-platform C/C++ project
Add all the Allegro frameworks as follows (this can be done in many ways, a group just keeps things tidy):
Select the Summary tab
Click the + button under Linked Frameworks and Libraries and add all the Allegro frameworks
In case they are not listed use the Add Other button and navigate to /Library/Frameworks to find them
Go to the Build Phases tab, then in the list to the left select all the Allegro frameworks and drag them to the Copy Files entry which we added before
Select all the frameworks again and this time drag them to the Frameworks group to the left (just to have things more tidy)
Don’t forget to remove the created source files under MyGame and add your own source code instead (note the main.m in Supporting Files for example)
Cannot find header files: Make sure you have set the header paths correctly. Try to copy the one line given above, into your header paths (remove old ones first). If that does not work. Try adding them one by one, to make it easier to copy/paste I have provided them for you separately as well:
In the previous post I have set up a raw architecture for the game. There is a Game class that has a function called execute, which allows basic stuff to happen:
– responding to events
– updating state
– and rendering state
In code it is:
while (running) {
	handleEvents();
	update();
	render();
}
The end result of the first phase was, well, a black window. Nothing to be excited about just yet…
One of the very basic needs is drawing on the screen. One way to get something on the screen is by using something called blitting. Blitting is basically taking a picture in memory (called in SDL a surface, or in Allegro a BITMAP) and then copy it onto another surface which functions as the screen.
We already have this screen SDL Surface defined in our Game class. It is not the actual (hardware) screen buffer. But, by doing SDL_Flip we can make this screen visible.
In essense this means the render function will be like this:
void Game::render() {
// draw some stuff on the screen
// flip screen at the end
SDL_Flip(screen);
}
I want to be able to draw surfaces on the screen. SDL requires the usage of SDL_Rect‘s which allows you to draw pieces of surfaces. At this point I don’t want deal with these SDL_Rect’s directly. What i want is:
draw (source surface, dest surface, int x, int y);
This is where I introduce a new class (again Single Responsibility Principle) that allows drawing on the screen and providing easy methods to do so. I call this the surfaceDrawer. At this point in time, its class definition looks like this:
#ifndef SURFACEDRAWER_H
#define SURFACEDRAWER_H

#include <SDL/SDL.h>

class SurfaceDrawer {

	public:
		void draw(SDL_Surface * from, SDL_Surface * dest, int x, int y);


};

#endif
This implementation is easy; the SDL_BlitSurface accepts:
– a from surface
– a from rectangle (ie, what to copy from the from surface?, NULL = everything)
– a destination surface
– a position given by a rect. (where to draw this? Starting with upperleft corner of from surface)
In this case, we provide NULL as 2nd argument, saying we want to copy the entire from surface. Then, the last parameter is the position where to draw it in the form of an SDL_Rect.
Next step is to actually use this function. One thing that we always need in an RTS is to draw the mouse. What we need is an SDL_Surface with a mouse bitmap loaded. I will be using:
Default mouse at 32x32 size, with purple background
Loading this image is done by using SDL_LoadBMP . We need to make sure that the surface we have loaded is in the same bit/color format as our screen. We can do that by using SDL_DisplayFormat. We don’t want to be bothered with this everytime, so we have to make some class responsible for loading resources into SDL_Surface’s which are suitable for drawing by the surfaceDrawer. For that I have introduced a surfaceDao class, which has the following class definition:
#ifndef SURFACEREPO
#define SURFACEREPO

// Data Access Object for fetching SDL Surfaces
#include <SDL/SDL.h>


class SurfaceDao {

	public:
		SDL_Surface * load(char * file);

};

#endif
SDL supports BMP formats out of the box. We need to use the SDL_Image library to get support for other formats. Using a DAO we can move all this format specific stuff out of our game into this single class later. For now I will be using BMP, as the main focus is drawing surfaces.
The implementation of the surfaceDao looks like this:
We load the BMP, when that is succesful, we convert it to the current display format. We have to free the temp surface using SDL_FreeSurface, to prevent memory leaks.
Now, in the Game class, this all comes together, first the class definition is expanded and gets (at the private section) the following code:
In the render function I use the surfaceDrawer to draw the mouse at the current X and Y position of the mouse:
void Game::render() {
	int mouseX, mouseY;
	SDL_GetMouseState(&mouseX, &mouseY);

	surfaceDrawer.draw(mouse, screen, mouseX, mouseY);

	// flip screen at the end
	SDL_Flip(screen);
}
This all finally results into:
Drawing the mouse! Isn't that cute.
Finally, we have something to draw! yay! But we need to make this a little bit better first:
– remove the system cursor (you don’t see this on the picture, but when running this your system cursor is on top)
– make sure we don’t have a trail of the mouse, ie, clean the screen before drawing
– we also see the purple background of the mouse, we don’t want to draw that…
Don’t draw the purple background
What we want is to skip a certain color when blitting a surface to another surface. We can do this by specifying a color key. This color will be skipped with drawing. The nice thing about the surfaceDrawer is that all have to do is add a function there to do this and change the call in Game to use the new function:
Add function to the surfaceDrawer
class SurfaceDrawer {

	public:
		... snip ...
		void drawTransparant(SDL_Surface * from, SDL_Surface * to, int x, int y);
One thing to note, in D2TM the assumption is that all colors with RGB: 255,0,255 (purple) will be skipped. That is the reason the surfaceDrawer does not have a color parameter. We could add this if it is needed later on.
The first line actually creates the purple color. The code is not that selfdescribing. Later on I will introduce a Colors class that basically says “give me purple”, and does the SDL_MapRGB in its implementation.
Of course, now in the Game we have to make a few adjustments.
void Game::render() {
	surfaceDrawer.clearToColor(screen, Colors::black(screen));

	int mouseX, mouseY;
	SDL_GetMouseState(&mouseX, &mouseY);

	surfaceDrawer.drawTransparant(mouse, screen, mouseX, mouseY);

	// flip screen at the end
	SDL_Flip(screen);
}
Two lines are added, first clear the screen to a specific color (black), and then for drawing the mouse we use the new drawTransparant function.
And after compiling, it looks like this: Drawing a mouse, that leaves no 'trail', and skips the purple color
Next blog post
Although we are able to draw stuff on the screen, it is far from efficient. If we want to draw a terrain we have up to 16 different surfaces for one terrain type (lets say, rocks). It is not doable to hold 16 different SDL_Surface’s and then draw the correct one. Besides, we also have spice, mountains, sand, hills, spicehills. So we need to do something clever. Thats where a tileset comes in. The next blog will be about that.
A side note about including SDL in every header file
One thing you’ll notice about my class definitions, is that I seem to include SDL all the time. Tutorials will say you’ll provide this at the top of your project in your main class (in this case it has to be main.cpp). Although I understand why (since the preprocessor will put the SDL code there, and will be accessible to all other files), it violates the SRP. In fact, you cannot compile a single CPP class anymore using SDL, since you do not refer to this.
As you can see in all my header files, there is a piece:
#ifndef SOMETHING
#define SOMETTHING
 // here is code
#endif
This basically says “whenever I have not yet defined SOMETHING include the piece of code, and define SOMETHING”. This allows us to include the same files over and over again, but we are sure the preprocessor only includes it once. This is needed because else your program will not compile due multiple definitions of the same class.
So now:
– I can compile any CPP file seperately (and, the big plus: I can use that for testing later on! :))
– I know what all my dependencies are, they are not somewhere else hidden